You have 0 items in your cart

Fitting your Motorcycle
By Vicki Sanfelipo, AKA Spitfire
Have you ever worn a pair of jeans that are too tight? It’s uncomfortable to sit, and you wonder if it is obvious to those around you that the jeans should be one size larger. How about when you wear jeans that are too loose? You are constantly pulling them up and might find yourself walking on the bottoms of the pantlegs, causing them to fray. You may try to hold the pants in place by wearing a belt that gathers just a little too much at the waist, but they look and feel awkward. It’s so nice to find a pair of jeans that fit just right. You find yourself bypassing the other 10 pairs in your drawer, looking for that perfect pair that allows you to move easily, have the flexibility you need, and look good! Isn’t it great when you can have it all? 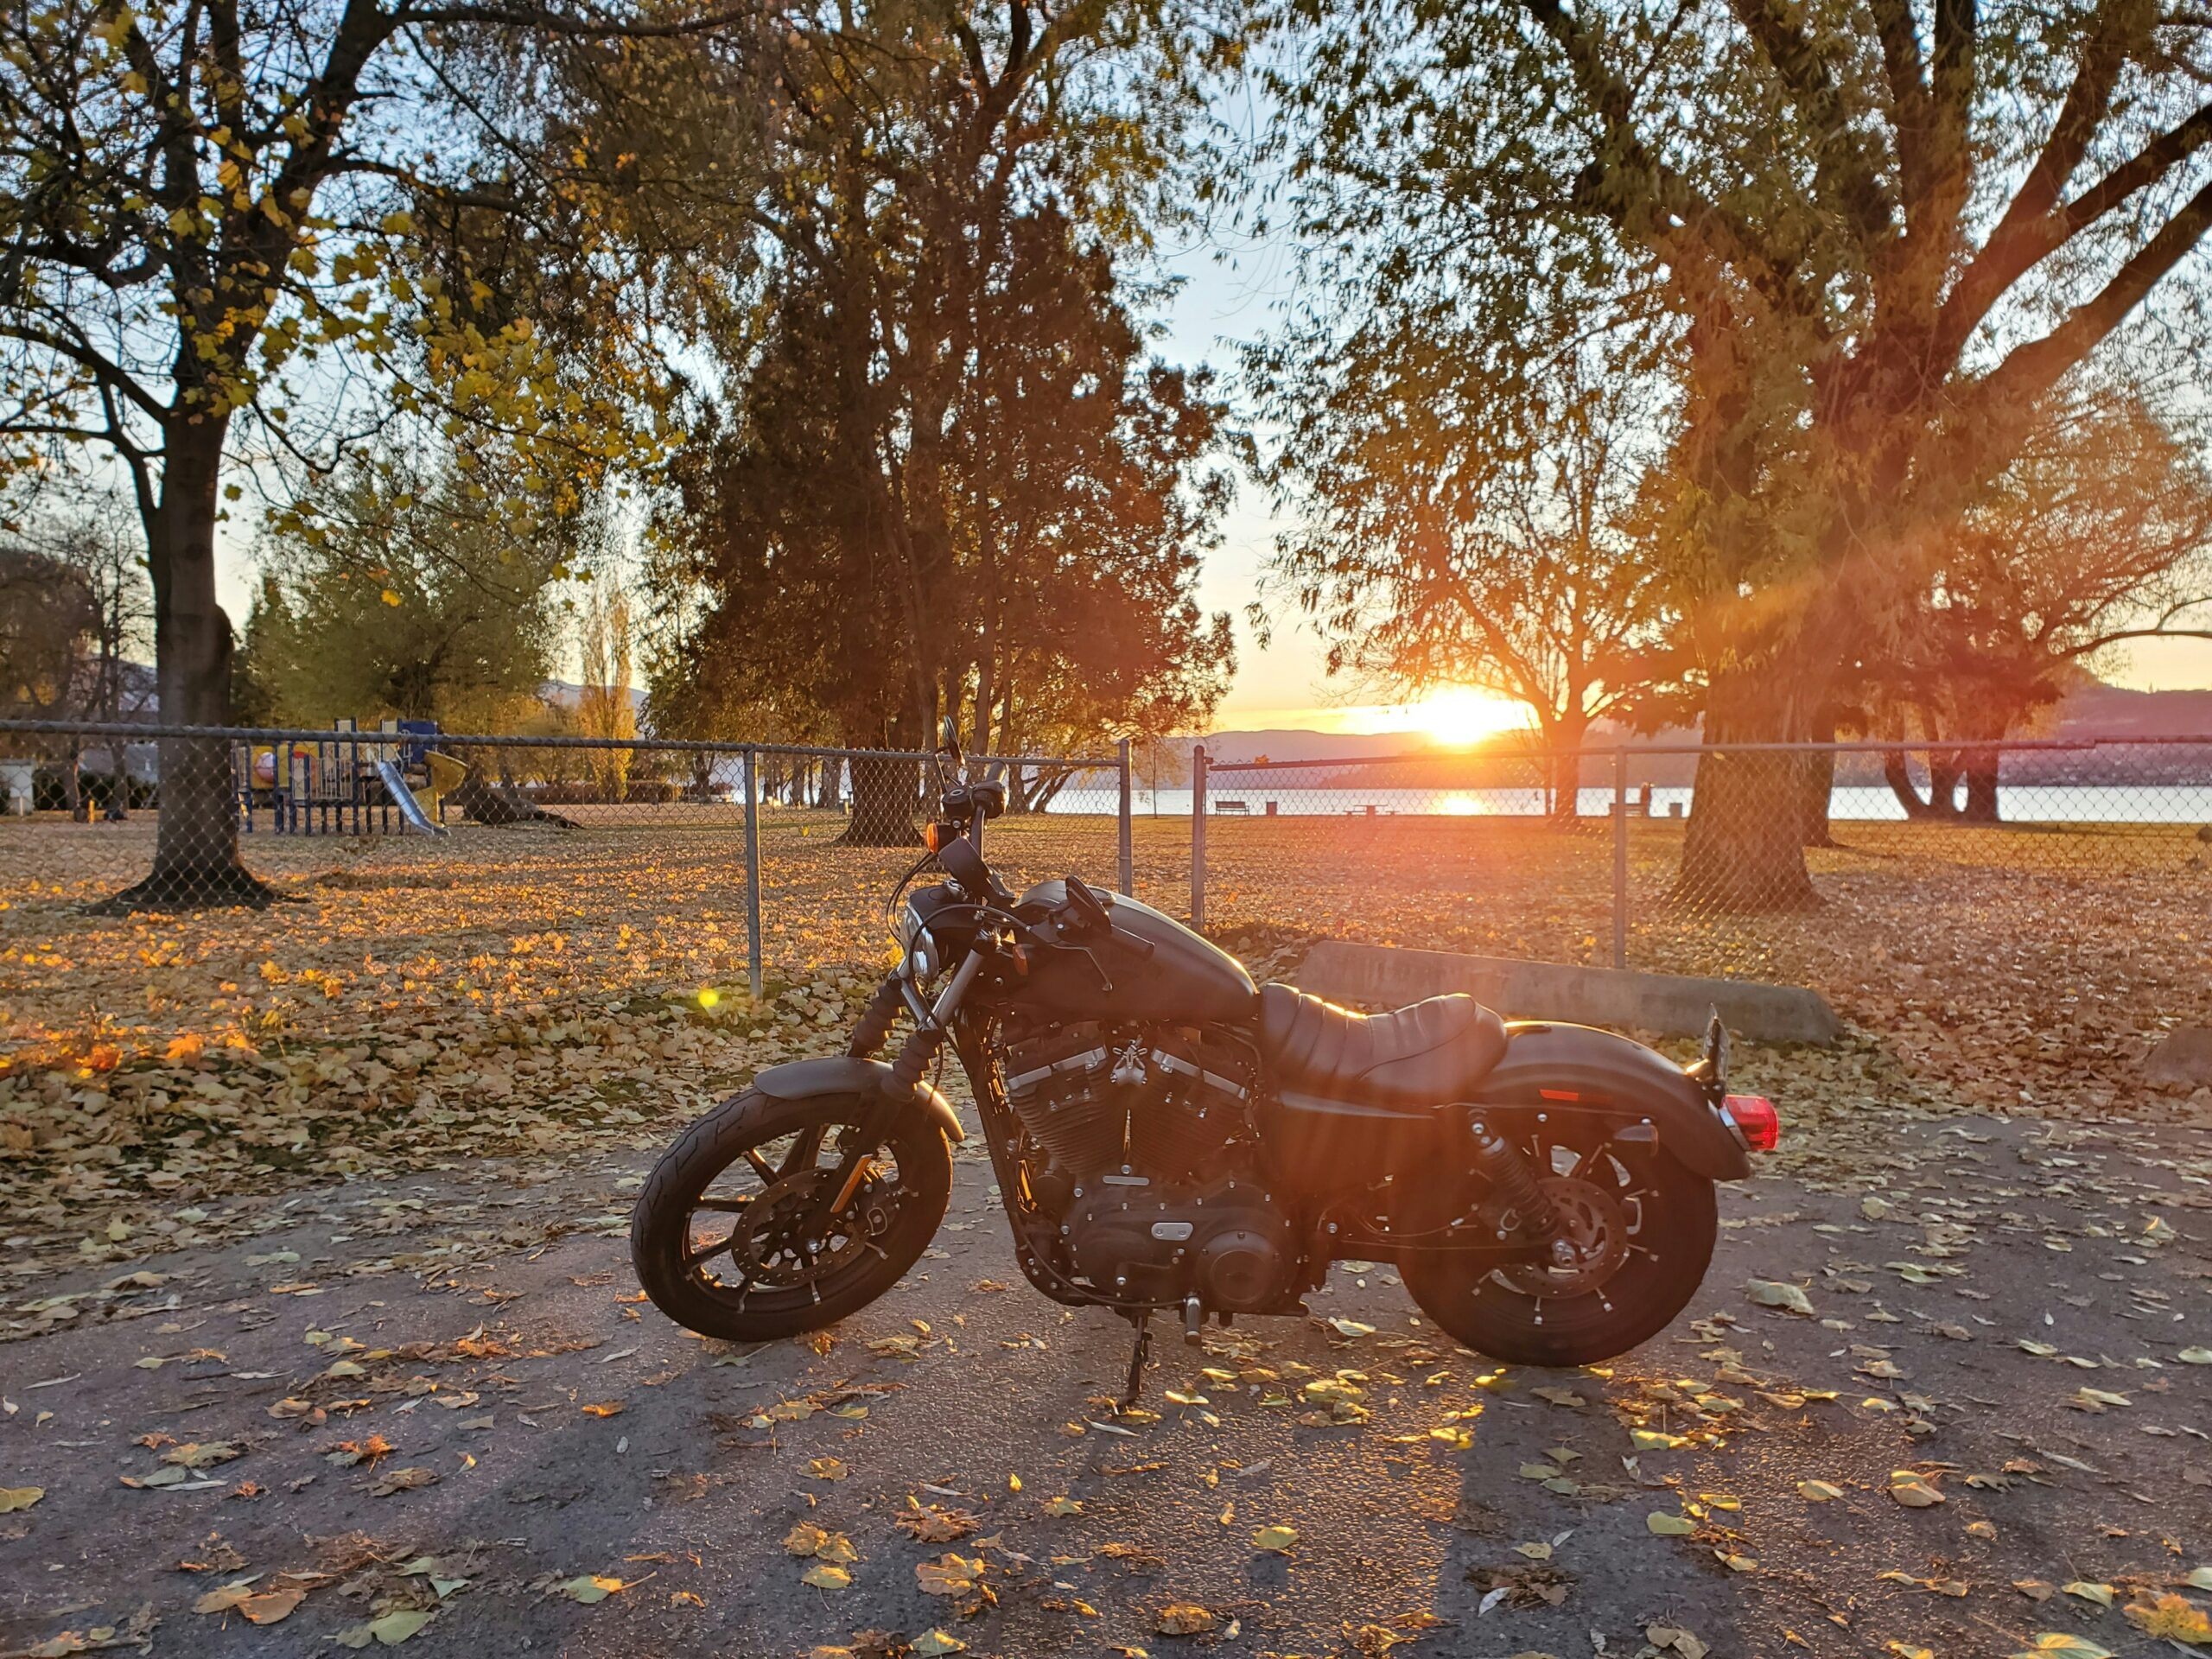
When it comes to fitting your bike properly, it can feel that good! You can do many things yourself, and there are other things you will likely need professional help to accomplish.
My first bike was a 1979 Sportster. I was so proud. Most of my friends rode bigger bikes, but at 5’1” and 120lbs, I looked for a bike that I could afford, looked cool, and that I could get off of the kickstand (barely). I didn’t know until after I bought it that the shocks were so rusty that they were stuck in the compressed and down position. After hitting a pothole one day, the shocks magically sprung into their fully upright position, and the bike suddenly grew 2 inches taller! I was suddenly on my tiptoes and found I could balance the bike, but maneuvering the bike, especially backing up, became extremely difficult. I found a pair of boots with a solid 4-inch heel, which fixed my immediate issue. Next, I found a friend who had a tool that could be used to turn the springs into the furthest down position, and I purchased a different seat that didn’t have as much foam on it, which gained me another 2 inches. Both of those things brought me back down to earth and made it easier to balance my motorcycle as well as back it up without 4-inch heels!  Seating:
Let’s talk about several things you can do to fit your bike better and what you can do or have someone help you with to make fitting your bike easy! Seat is one of those things that can make a huge difference. For example, on my latest motorcycle, a Harley Davidson Street Glide, I adjusted the height by having a person who does upholstery on old cars help me get the seat to fit my short stature. Rather than buy a whole new seat, I got to thinking that maybe I could have the current seat altered to fit me! The guy I worked with was patient and a little nervous. I asked him to shave as much foam as he could from the sides of the seat where my thighs were. When I was at a stop, I didn’t want that foam to give me a wider stance, and when I was riding, and my feet were on the footboards or highway pegs, I didn’t need the foam for comfort! I then asked him to shave the rest of the seat by one inch, hollow out the area under my buttocks, and place a gel pad there instead of the foam. He re-stretched the leather over the seat and secured it perfectly! People have asked me if I’ve had my bike lowered, and by that, they are asking if I have altered the suspension in any way. The answer is no. I got everything I needed with simple seat alterations. Another consideration when altering a seat is the possibility that you may want to add padding in the back of your buttocks to move you forward on the seat (this will improve your reach to the handlebars,) or if you are tall, you may want the seat moved back to allow more leg room. Regardless, the proper seat height should allow for a bend in your knee that will allow you to maneuver your bike more easily.
Shocks/Suspension:
Whether you have older shocks or newer air shocks, there should be some adjustments that you can make. Consult your owner’s manual. There may be special tools required in order to make those adjustments. If you have air shocks, NEVER use compressed air to add air to them. A simple hand pump is all you will need. You can buy shorter shocks in some cases, but putting those shocks on is not as easy as you might think since the rear tire has to be removed. There are lowering kits that can be ordered and installed, but a professional should do that since those kits require drilling into the frame of the motorcycle. Any time you alter your suspension, you typically give up a bit of comfort in the process.
Handlebars:
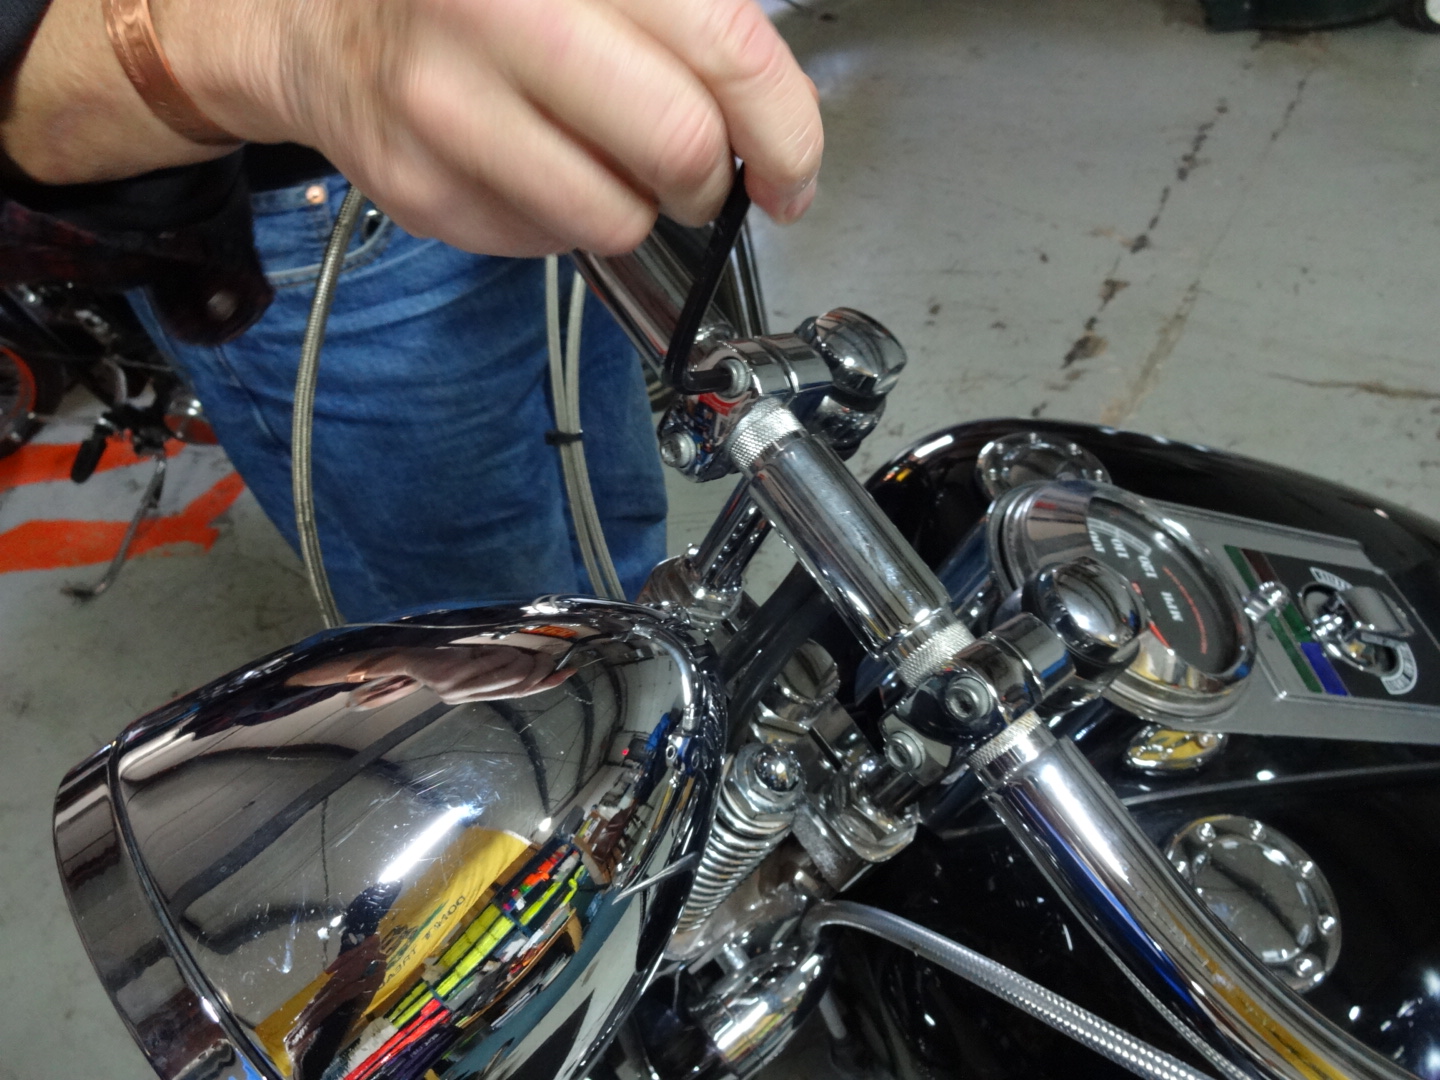
The handlebars are also an important adjustable item. They come in every variety you can imagine: Drag Bars, Beach Bars, Ape Hangers, Cruising, and touring bars. You can also add or adjust the handlebar posts (see pictures) that bring the handlebars closer to you, adjust the handlebar height, and more. Adjusting how far the current handlebars have come toward you or moving away is easy but best done with a friend. With your bike on the kickstand, put your feet on your footboards or Foot Pegs and both hands on the handlebars. There should be a significant bend in your elbow. Now, turn the handlebars as far as you can to the left. Your right hand should still be able to grip the handlebar fully. Your left hand should be able to pull the clutch in and not be so close to you that it is difficult to operate the controls. Do the same to the right. If the bars need to be adjusted toward you or further away from you, have a friend loosen the nuts on the risers (do not remove) and adjust the handlebars to an area of comfort, then have your friend tighten the nuts being certain they are very snug. Move the handlebars to the left and again to the right. If you are still uncomfortable after adjusting the handlebars, you may need to consult a professional about changing the handlebars, which might involve extending control cables such as the clutch cable, brake cable, or throttle. Klock Werks makes my favorite adjustable handlebars from South Dakota. The bars are a bit pricey, but in many cases, your motorcycle can be made more comfortable without the expense of changing out the cables.
Hand Controls & Mirrors:
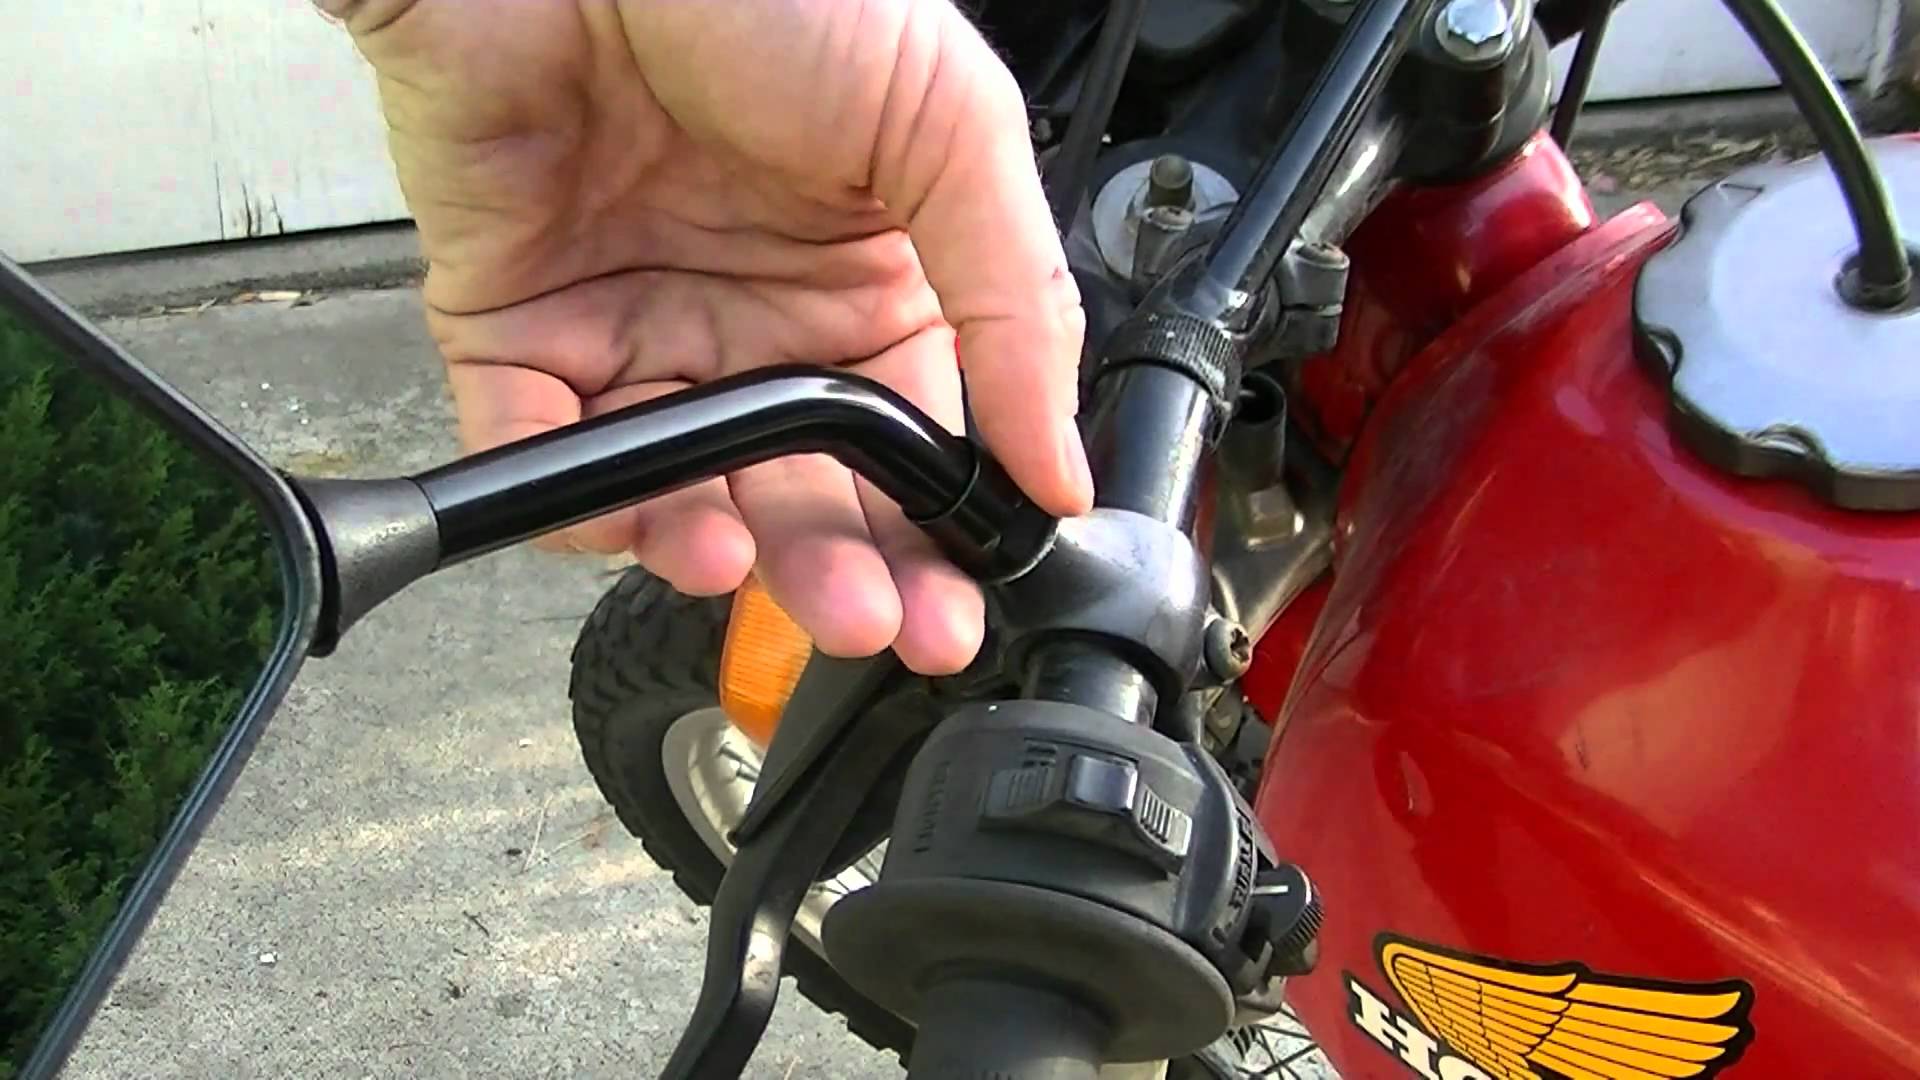
I’ve always joked that if I can get a motorcycle off of a kickstand, I can ride it! I’ve ridden many bikes as a result. Other than stature, one of the things that has made riding another person’s bike uncomfortable for any length of time is something that can easily be adjusted, like the hand controls. On the left side is your clutch. Many years ago, a clutch took a bit of effort for a person with small hands to pull all the way to disengage the gears and shift. In heavy traffic, when shifting is done frequently, this can lead to fatigue of the hand. I would fit myself, reach out with 4 of my fingers, and pull back on the clutch until I could hook my thumb on the handlebar and finish the squeeze. I remember being introduced to the “Easy” clutch, which was such a relief! Most new bikes have the easy clutch on them; I wish I knew who I should thank!!! Before they had the Easy Clutch on the bikes the “fix” was to loosen the clutch cable to bring it closer to the handlebar and easier to squeeze. We had to lubricate the cable from time to time so that it would not bind up or fray. It was not uncommon to carry an extra clutch cable along on longer trips since they were known to snap, and you would be stranded alongside the road unless you had tools and a cable. The front wheel brake lever (on the right side) is harder to adjust, but you do not need to squeeze hard enough to disengage anything. It can typically be operated with just two fingers. The position of the levers so that your hand is in a comfortable position and not reaching is also an easy fix. Loosen the screws that hold the levers on, and just like the handlebar adjustment, tighten the screws securely after rotating the levers to a position of comfort.
Mirrors will need to be adjusted. The Left mirror should be adjusted so that you are looking over your shoulder at the lane behind you, and your right mirror should give a view of the top of your shoulder and the lane to your right. Proper mirror adjustment does not mean that you do not need to turn your head to look for blind spots before changing lanes, but it should assist you with keeping track of your surroundings.
Foot Controls/Pegs/Pedals:
On the left side of your bike is the shifter peg. If you have difficulty getting your toe under the shifter to lift it up, you must adjust the shifter peg. All bikes with manual transmissions require one click down and then shift by lifting up to shift into higher gears. The shifter peg is on a spline, a shaft with a gear type or end. There is typically one screw that tightens the shifter peg onto the splines to hold it in place. Remove the screw. Pry the shifter peg off. Adjust for comfort and function, then tap back on until the peg is flush with the shaft, making sure to line the grooves up. Secure the screw firmly.
The rear wheel brake pedal is on the Right side of the bike. It should not need adjustment; you only need to press down on it.
If your bike has highway pegs, they may need adjustment so you can reach them easily so your foot can rest on the pegs for longer times on the bike. You will need a couple of wrenches or an Allen Wrench, depending on the style. Loosen screws or bolts, adjust for comfort, and tighten.
Once you are comfortable, you will be able to handle your motorcycle with more ease. Faster stops and handling of the bike becomes easier and you don’t have to “work” so hard to ride. If you are new to motorcycling, have someone give you a hand. If you have an owner’s manual, check it to see what instructions it might provide. The best benefit of adjusting your bike to maximize comfort is that you will enjoy your ride that much more! Do you have any tips you would like to share?
For more articles like this, click here


